


Loopback 3 with TypeScript
LoopBack is a highly-extensible, open-source Node.js framework that enables you to create dynamic end-to-end REST APIs with little or no coding.
This is the definition on their website, I enjoy building apps using LoopBack version 3. TBH it's a time-saving solution that helps you build Node.js apps quickly.
LoopBack3 was published in Dec 2016. The next version is LoopBack4 and it was published in Oct 2018 and it's totally in TypeScript.
What I miss in LoopBack4 is that most of the features that were handled automatically in LoopBack3 are not in LoopBack4.
So I'm stuck with LoopBack 3, That's why I wanted to use TypeScript with LoopBack 3.
After some search and many code errors and multiple tries 😤.
I managed to create my starter of Loopback 3 with TypeScript.
Before we start you should know that:
- At the end of this article you'll find a link for the full code.
- The whole Article will be about how to create this starter from the default
Loopback 3code.
#Prerequisite
Make sure that you have installed
- Node.js
- LoopBack CLI
To install LoopBack CLI run
1npm install -g loopback-cli
Once it's installed run the command lb to create new Loopback App. Here's a screenshot of what I pick
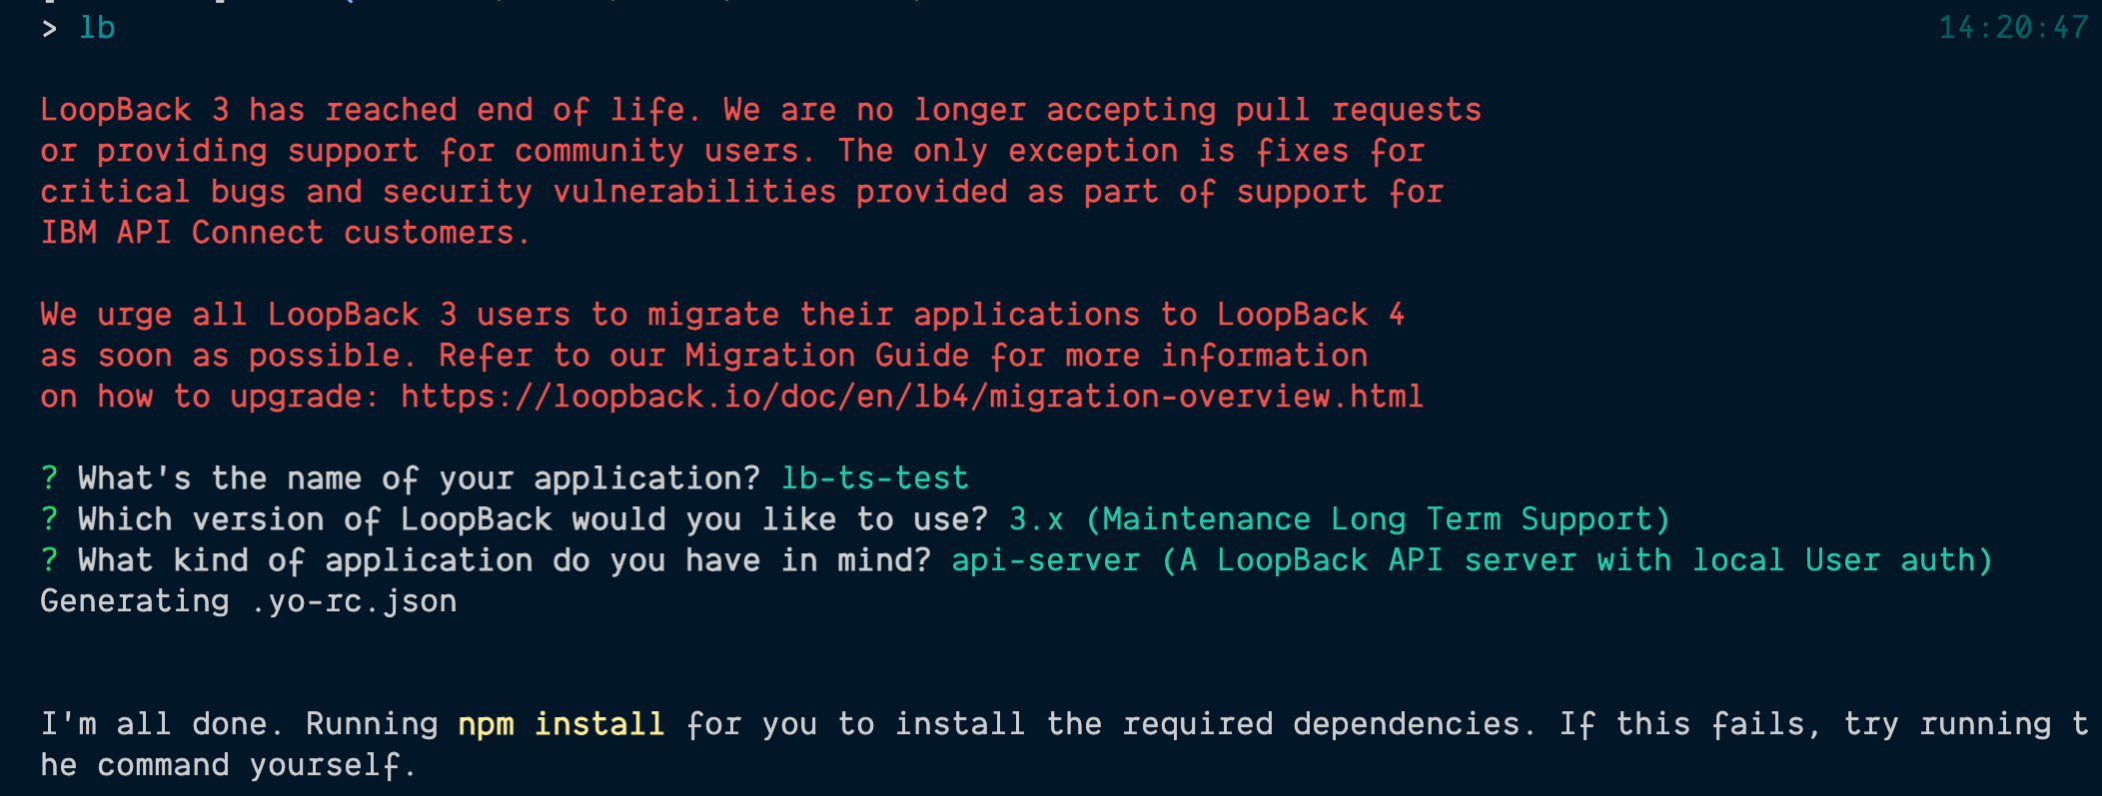 I named the App
 lb-ts-test and pick the version 3 and the kind of application is api-server. It'll run npm install and it'll be ready to use in few seconds.
now cd to your app's directory and let's install some packages.
#Installing packages
1npm install -D typescript @types/node copyfiles npm-run-all rimraf
I'm using Nodemon in development to watch changes and restart the server, so I will install it globally.
1npm install -g nodemon
#File Changes
We'll make multiple changes so please try not to forget any of them.
I will be using Nodemon for the development, I built this flow to use it, I know it's not the best flow, please leave a comment if you have any advice.
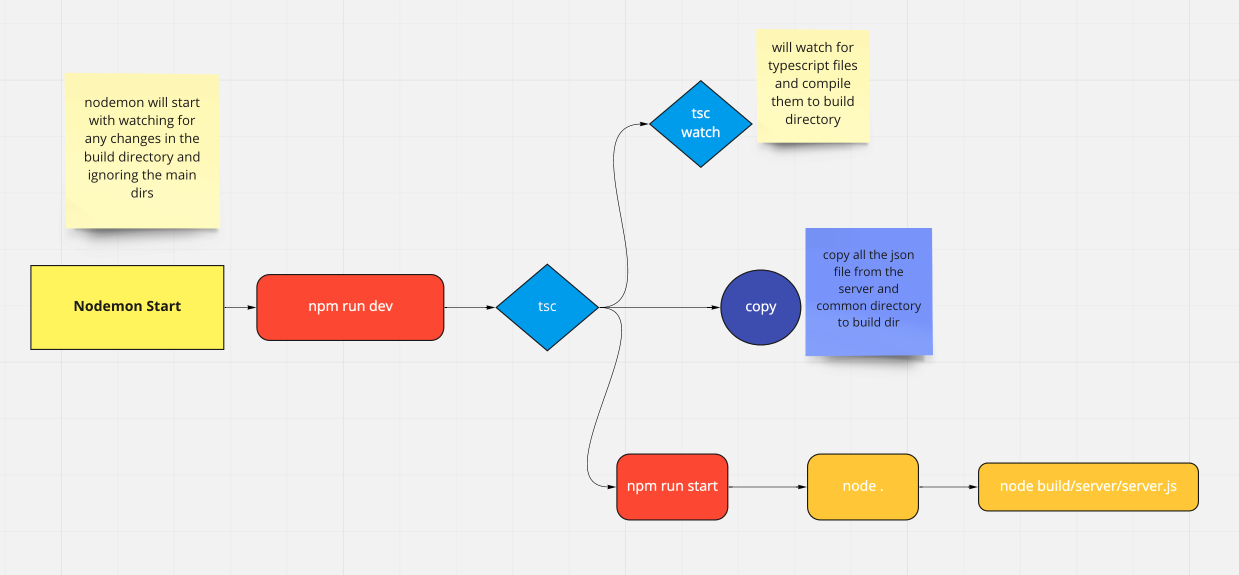
So the nodemon will start and watch for any changes in the build directory only and ignoring the server and common directories. At the same time, it'll run the npm script npm run dev.
the dev script will run first tsc just to make the build directory and compile the ts file for the first time.
Next, it'll do 3 commands in parallel, that's why we installed npm-run-all package.
The 3 commands are:
tsc watch: It will watch for any changes in the TypeScript files.copy: it will copy all the json file from server && common to build. (you can change it to whatever you want)npm run start: which will run node build/server/server.js
#Nodemon
create a file named nodemon.json in your root directory with the content
1{ 2 "watch": ["server", "common"], 3 "ext": "ts,json", 4 "ignore": [ 5 "src/**/*.spec.ts", 6 "**/*.test.ts", 7 "**/*.spec.ts", 8 ".git", 9 "node_modules", 10 "build" 11 ], 12 "delay": 50, 13 "exec": "npm run dev" 14}
#package.json
I made changes to the scripts and the main properties. Here's the whole file content:
1{ 2 "name": "lb-ts-test", 3 "version": "1.0.0", 4 "main": "build/server/server.js", 5 "engines": { 6 "node": ">=6" 7 }, 8 "scripts": { 9 "lint": "eslint .", 10 "start": "node .", 11 "copy": "copyfiles \"server/**/*.json\" \"common/**/*.json\" build/server -u 1", 12 "ts": "tsc -w", 13 "clean":"rimraf build", 14 "dev":"tsc && run-p ts copy start", 15 "posttest": "npm run lint && nsp check" 16 }, 17 "dependencies": { 18 "compression": "^1.0.3", 19 "cors": "^2.5.2", 20 "helmet": "^3.10.0", 21 "loopback": "^3.22.0", 22 "loopback-boot": "^2.6.5", 23 "loopback-component-explorer": "^6.2.0", 24 "serve-favicon": "^2.0.1", 25 "strong-error-handler": "^4.0.0" 26 }, 27 "devDependencies": { 28 "@types/node": "^16.7.1", 29 "copyfiles": "^2.4.1", 30 "eslint": "^3.17.1", 31 "eslint-config-loopback": "^8.0.0", 32 "npm-run-all": "^4.1.5", 33 "rimraf": "^3.0.2", 34 "typescript": "^4.3.5" 35 }, 36 "repository": { 37 "type": "", 38 "url": "" 39 }, 40 "license": "UNLICENSED", 41 "description": "lb-ts-test" 42}
#tsconfig
Create tsconfig.json file in the root directory with the content:
1{ 2 "compilerOptions": { 3 "target": "es6", 4 "module": "commonjs", 5 "noUnusedLocals": true, 6 "noUnusedParameters": true, 7 "outDir": "build", 8 "sourceMap": true, 9 "noImplicitAny": true 10 }, 11 "include": ["server/**/*.ts","common/**/*.ts"] 12}
#Change JavaScript files to TypeScript
Now we need to rename all files with .js extension with .ts. and change some code like replace module.exports with export and add some types.
for example the file server/boot/authentication.js it'll be server/boot/authentication.ts and the content will be
1export = function enableAuthentication(server:any) { 2 // enable authentication 3 server.enableAuth(); 4};
#Finally
Now you can start your development server by running nodemon